Windows installations must use Virtio drivers in order to run properly on our cloud by default. This article explains how to add Virtio drivers to a Windows Server installation ISO. You can run Windows on our cloud without Virtio by setting the appropriate image properties on a standard Windows ISO as described here.
Create the ISO
1 - Download the Windows Server ISO of your choice.
2 - Download the latest Virtio drivers here: https://fedorapeople.org/groups/virt/virtio-win/direct-downloads/stable-virtio/virtio-win.iso
3 - Make a folder: C:\windowsiso
4 - Extract the Windows Server ISO to: C:\windowsiso
5 - Extract the Virtio drivers ISO to: C:\windowsiso\virtio
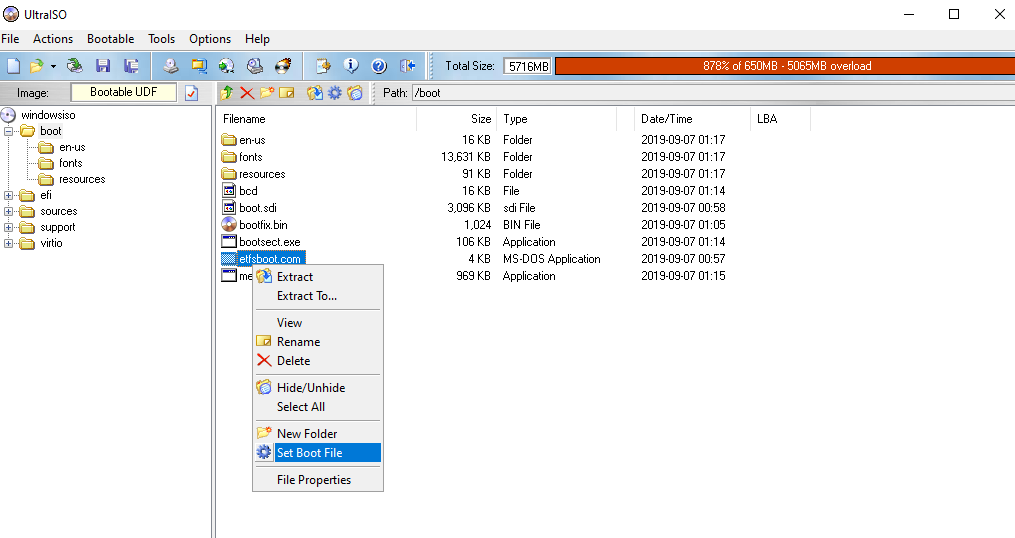
6 - Use an ISO creation tool (such as UltraISO) to create your custom ISO from the contents in C:\windowsiso
ISO Settings
- Filesystem: UDF DVD
- Boot image: C:\windowsiso\boot\etfsboot.com (in UltraISO, for example, select the file and click Set Boot File)

Use the ISO
1 - Save the ISO and upload it to a public URL. Use the URL to upload the ISO to your RamNode Cloud account. (See related)
2 - Select the ISO under My images and click Launch.
3 - Enter an instance name, select the desired instance flavor, and click Create & Boot from ISO.
4 - Once the instance status says "Booted from ISO", open the Console and work through the Windows installation steps.
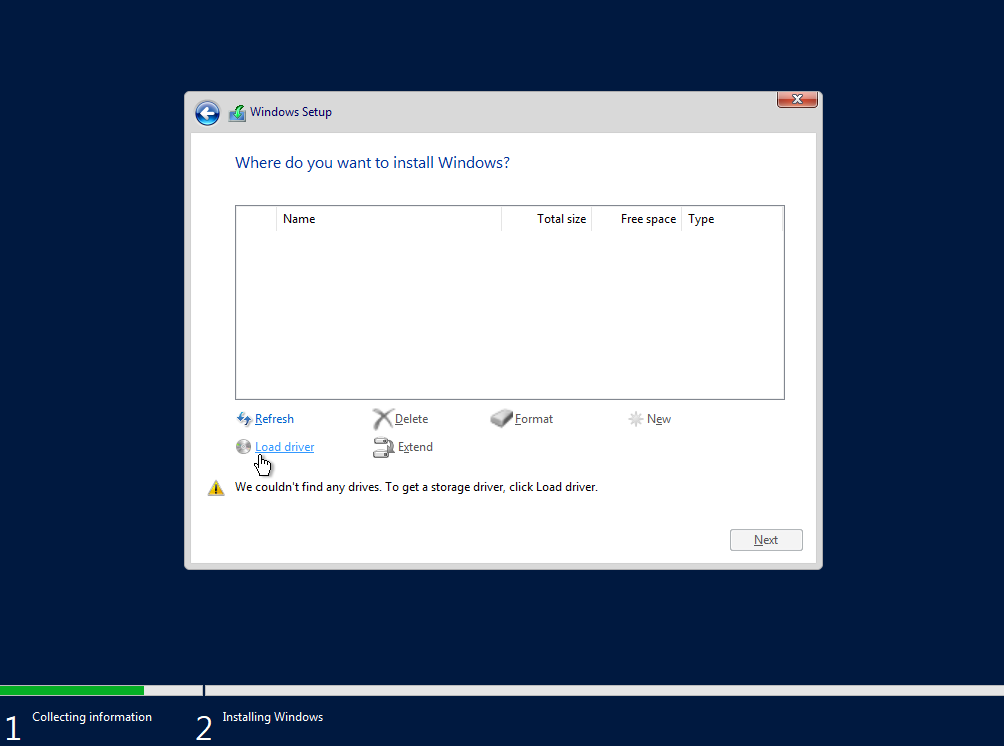
5 - When asked where you want to install Windows, click Load driver.

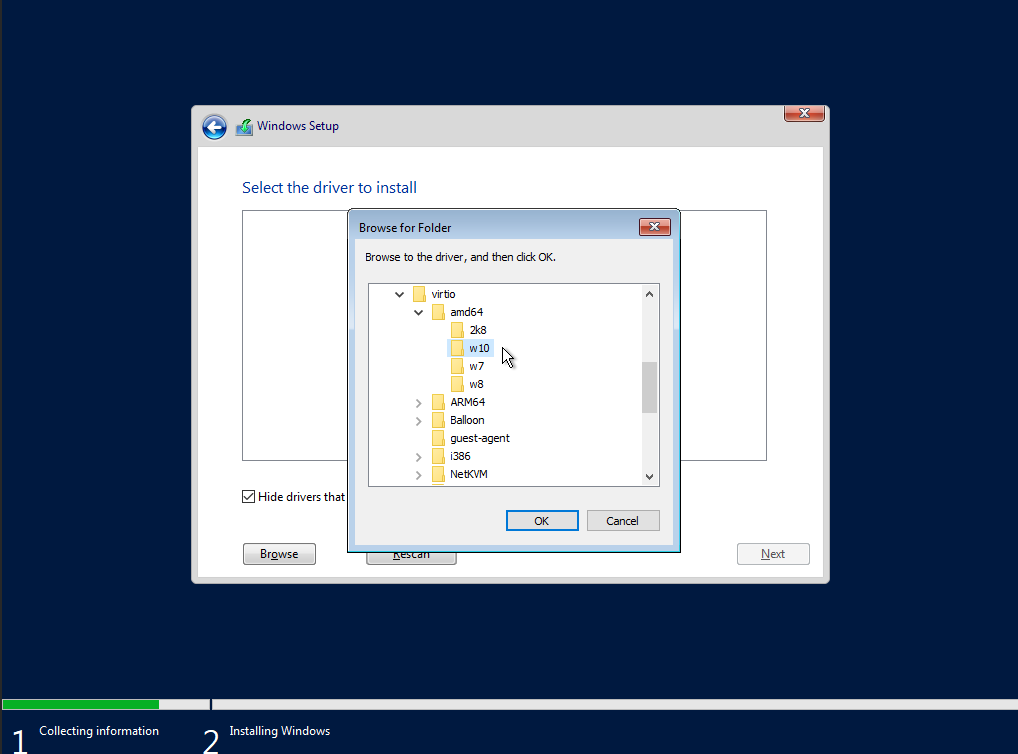
6 - Choose the appropriate Virtio drivers for your version of Windows. (For Windows Server 2019, for example, you should select D:\virtio\amd64\w10)

7 - Finish the install and log into Windows with the ISO still mounted.
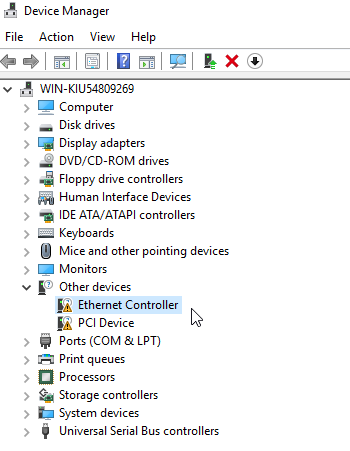
8 - Open Device Manager > Other devices.
9 - Right click Ethernet Controller, select Update driver.

10 - Search under CD Drive D: for virtio > NetKVM > your Windows version (w10 for Server 2019) > amd64.
11 - Click Next and Install to enable networking.
12 - From the cloud control panel, select Unmount ISO and Reboot to finish the install.

