Cloud instances (VPS) can be created from the Cloud Control Panel. You can access the control panel through the Client Area or directly at https://cloud.ramnode.com (check your cloud information email for login details).
To Launch an Instance
- Access the Cloud Control Panel. (Sign up here if you don't already have a cloud account).
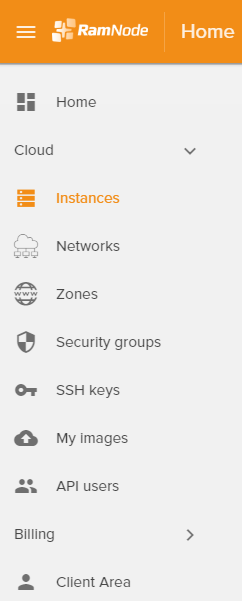
- Click the Instances tab on the left sidebar:
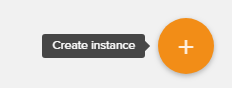
- Click the orange + button at the bottom right.
- Enter your instance name and select a region to view available plans.

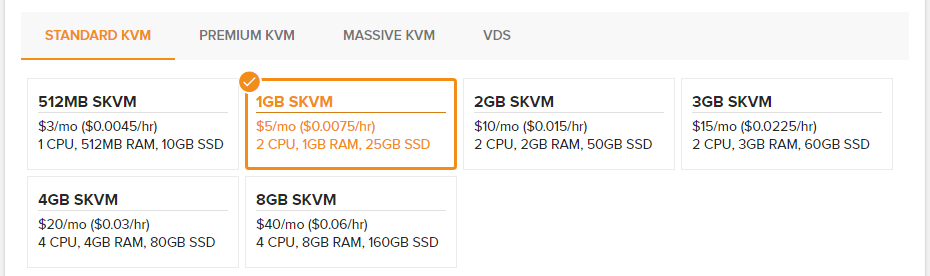
- Select the category and size (also called Flavor) for your instance.
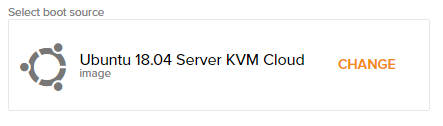
- Click "CHANGE" to select an boot source / operating system.
For differences between ISO and Cloud boot sources, see this article. - Network Selection will be displayed if you created a private network. If not, the option will be hidden and a public IP will be assigned by default. Select SSH key(s) and/or enter a root password as desired.

(Advanced users may also want to utilize Cloud-init user data) - Click CREATE INSTANCE to launch a new VPS!
